Whetstones & Skill
How to Sharpen a Japanese Knife
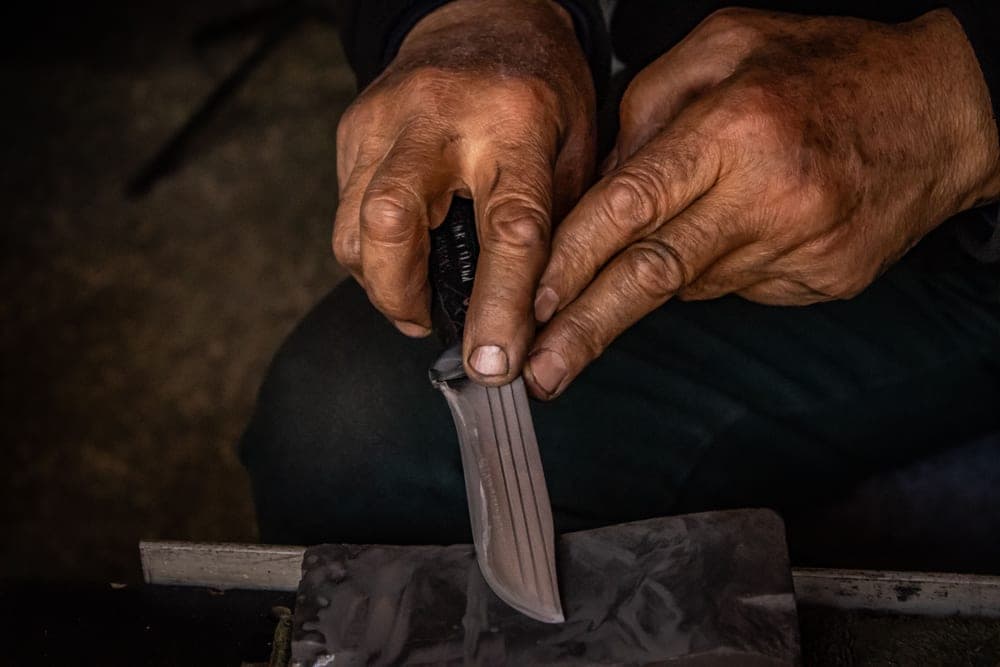
What this is based on: published manufacturer specifications and retailer listings, cited on each product; the weight of professional and owner reviews across multiple retailers; and hands-on experience sharpening and cooking with knives of this type. We have not individually tested every model listed, we do not run instrumented sharpness testing, and we do not claim a test we did not run.
Quick picks
| # | Product | Best for | Score | Price |
|---|---|---|---|---|
| 1 |  King KDS Combination Whetstone #1000/#6000 | Your first stone | 8.4 | |
| 2 |  Naniwa Professional (Chosera) 1000 | The one stone to own if you only own one | 8.6 | |
| 3 |  Leather Bench Strop with Stropping Compound | Finishing after the stones | 8.0 |
The eight steps
- Prepare the stone. If it is clay-bonded — a King, a Suehiro — submerge it until the bubbles stop, about 10 to 15 minutes. If it is splash and go — Shapton Glass, Naniwa Professional — wet the surface and start. Put a damp folded towel under it so it cannot slide.
- Set the angle: 15 degrees per side. Two stacked US quarters under the spine of a typical kitchen knife is close. Color the bevel with a permanent marker first — it is the only way to verify you are on the bevel and not the shoulder. More ways to find the angle.
- Make three passes and check the marker. Ink gone evenly across the bevel means the angle is right. Gone only at the apex means you are too steep; only at the shoulder means too shallow. Adjust and repeat before doing anything else.
- Work one side until a burr forms along the full edge. Light pressure, whole-body movement, wrist locked. Work in sections — heel third, middle third, tip third — and lift the handle slightly as you reach the curve so the contact point stays on the stone. Keep the stone wet.
- Check for the burr. Run a fingertip across the edge from spine to edge — never along it — on the side you have not been working. A burr catches slightly. If there is no burr anywhere, keep going; if there is a burr for most of the length and not at the tip, work the tip.
- Flip and repeat. Same angle, same pressure, same number of passes roughly. Work until the burr flips to the other side along the full length.
- Refine, if you have a finishing stone. Move to 3,000 or 6,000, same angle, lighter pressure, fewer passes. Alternate sides, finishing with single alternating strokes to minimize the burr.
- Strop. Ten to fifteen edge-trailing passes per side on leather with compound. Spine first, edge dragging. Never lift the spine — that rounds the apex and undoes everything. Stropping in detail.
Three ways to know you are done
- Look at it. Hold the edge up under a light and look straight down at it. A dull edge shows a thin bright line where the flat apex catches the light. A sharp edge shows nothing.
- Feel for the burr. After stropping, there should be no burr on either side. If there still is, strop more lightly.
- Cut a tomato. The real test. Rest the edge on the skin with no downward pressure and draw it back. A sharp knife parts the skin on the draw. A knife that needs pressure is not finished.
The four things that go wrong
- Too much pressure. It flexes the blade, rounds the apex and dishes the stone. Let the abrasive cut.
- Stopping before the burr. No burr means you never reached the apex — you polished the bevel of a dull knife.
- Neglecting the tip. The curved section gets far fewer passes than the flat because people do not lift the handle. Work it deliberately.
- Letting the stone dry. A dry stone loads up with steel swarf and stops cutting. Keep water on it.
The full list is on common sharpening mistakes, and if the knife is still not sharp after all this, the diagnostic is here.
If your knife is single bevel
None of the above applies unmodified. A deba, yanagiba or traditional kiritsuke is ground on one face with a hollow on the other, and the technique is different in ways that matter. Start here instead.
The picks in detail
#1 · Your first stone
King KDS Combination Whetstone #1000/#6000
The stone almost everyone learns on. Soft, forgiving, cheap, and it tells you loudly when your angle wanders.
What it does well
- Two useful grits in one block for the price of half a premium stone
- Soft binder builds slurry readily, which gives beginners real feedback
- Almost impossible to damage a knife on it
Where it gives way
- Dishes quickly and needs flattening often
- The soak is a real commitment — you cannot sharpen on a whim
- Slow on hard powder steels like SG2
Skip it if: Impatient people. The 1000 side wants a 10-15 minute soak before every session and the clay binder dishes fast.
| Grits | #1000 / #6000, combination |
|---|---|
| Binder | Clay |
| Soaking | #1000 side: 10-15 minutes. #6000 side: splash only |
| Size | 207 x 66 x 36 mm |
| Weight | approx. 956 g |
#2 · The one stone to own if you only own one
Naniwa Professional (Chosera) 1000
The stone that does the most with one grit. Hard enough to dish slowly, soft enough to raise a slurry that tells you what the edge is doing.
What it does well
- Splash and go, but still builds a rich, informative slurry
- Fast enough to reset a dull edge, refined enough to finish on
- 20 mm of abrasive — years of use before it is spent
Where it gives way
- Expensive for a single grit
- Magnesia binder does not like being stored wet
- You will still want a finishing stone eventually
Skip it if: A tight budget. It costs more than a combination stone and gives you one grit.
| Grit | 1000 |
|---|---|
| Size | 210 x 70 x 20 mm |
| Soaking | Splash and go |
| Binder | Magnesia |
#3 · Finishing after the stones
Leather Bench Strop with Stropping Compound
Ten dollars of leather and abrasive that removes the burr your finishing stone left behind. The cheapest real improvement in this whole category.
What it does well
- Turns a good stone edge into a noticeably better one in two minutes
- Extends the interval between full sharpenings
- Costs less than almost anything else in the kitchen
Where it gives way
- Easy to round the edge over if you lift the spine
- Does nothing for a genuinely dull knife
- Leather needs re-charging with compound periodically
Skip it if: Sharpening. A strop refines and deburrs; it removes almost no steel and will not fix a dull knife.
| Function | Burr removal and edge refinement |
|---|---|
| Compound | Typically chromium oxide, roughly 0.5 micron |
| Direction | Edge-trailing strokes only |
Common questions
Do I need to soak a whetstone before sharpening a Japanese knife?
How do I know when my knife is sharp enough?
What is a burr and why does it matter?
How long should sharpening take?
Should I sharpen with the edge leading or trailing?
Sources
Read next
Whetstones & Skill
How to Use a Whetstone
Whetstones & Skill
Knife Sharpening Angle Chart
Whetstones & Skill
Whetstone Grit Chart
Whetstones & Skill
Why Your Knife Still Isn't Sharp
Whetstones & Skill
Common Knife Sharpening Mistakes
Whetstones & Skill